


Create a New VM from Template (vSphere)
Here's how you can create a new virtual machine (VM) from an existing template in vSphere.
-
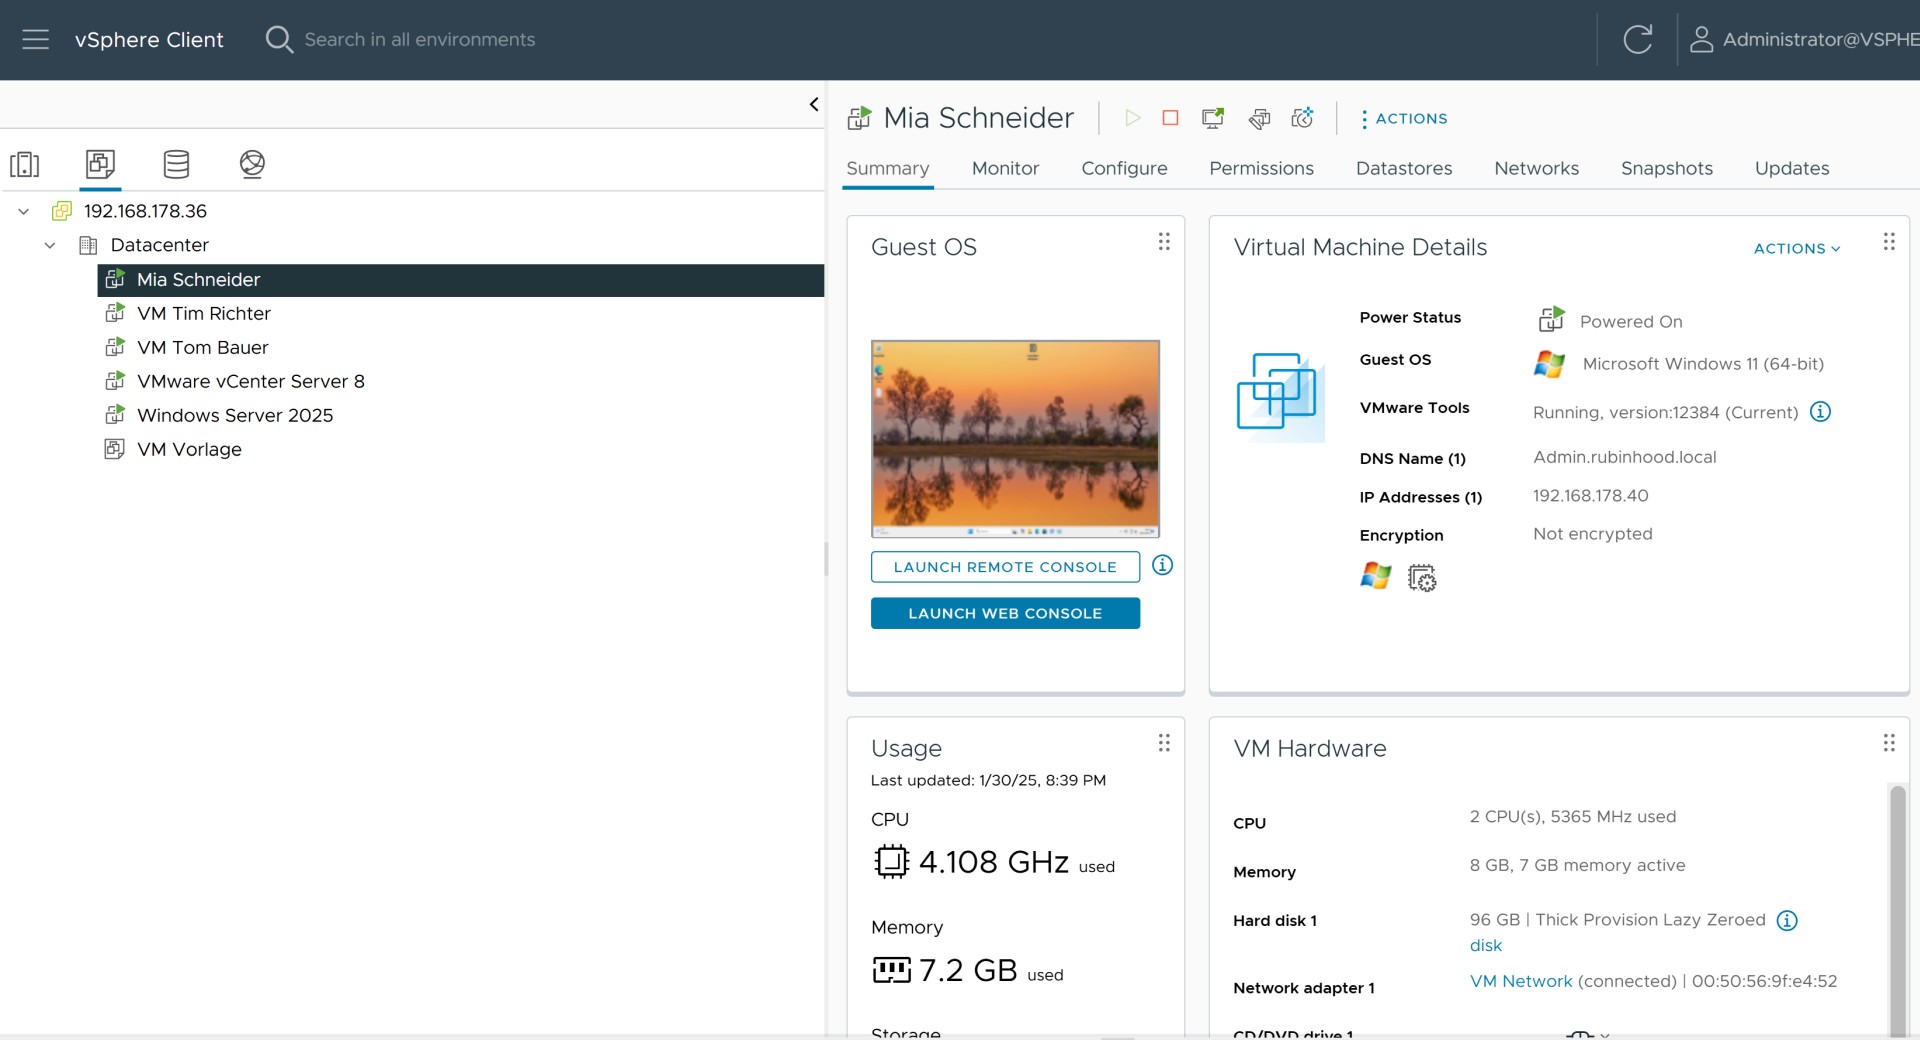
Open vSphere Web Client
Log in to the vSphere Web Client. -
Select the Template
Navigate to VMs and Templates from the left menu. Select the desired template (e.g., VM Vorlage), right-click on it, and choose New VM from This Template.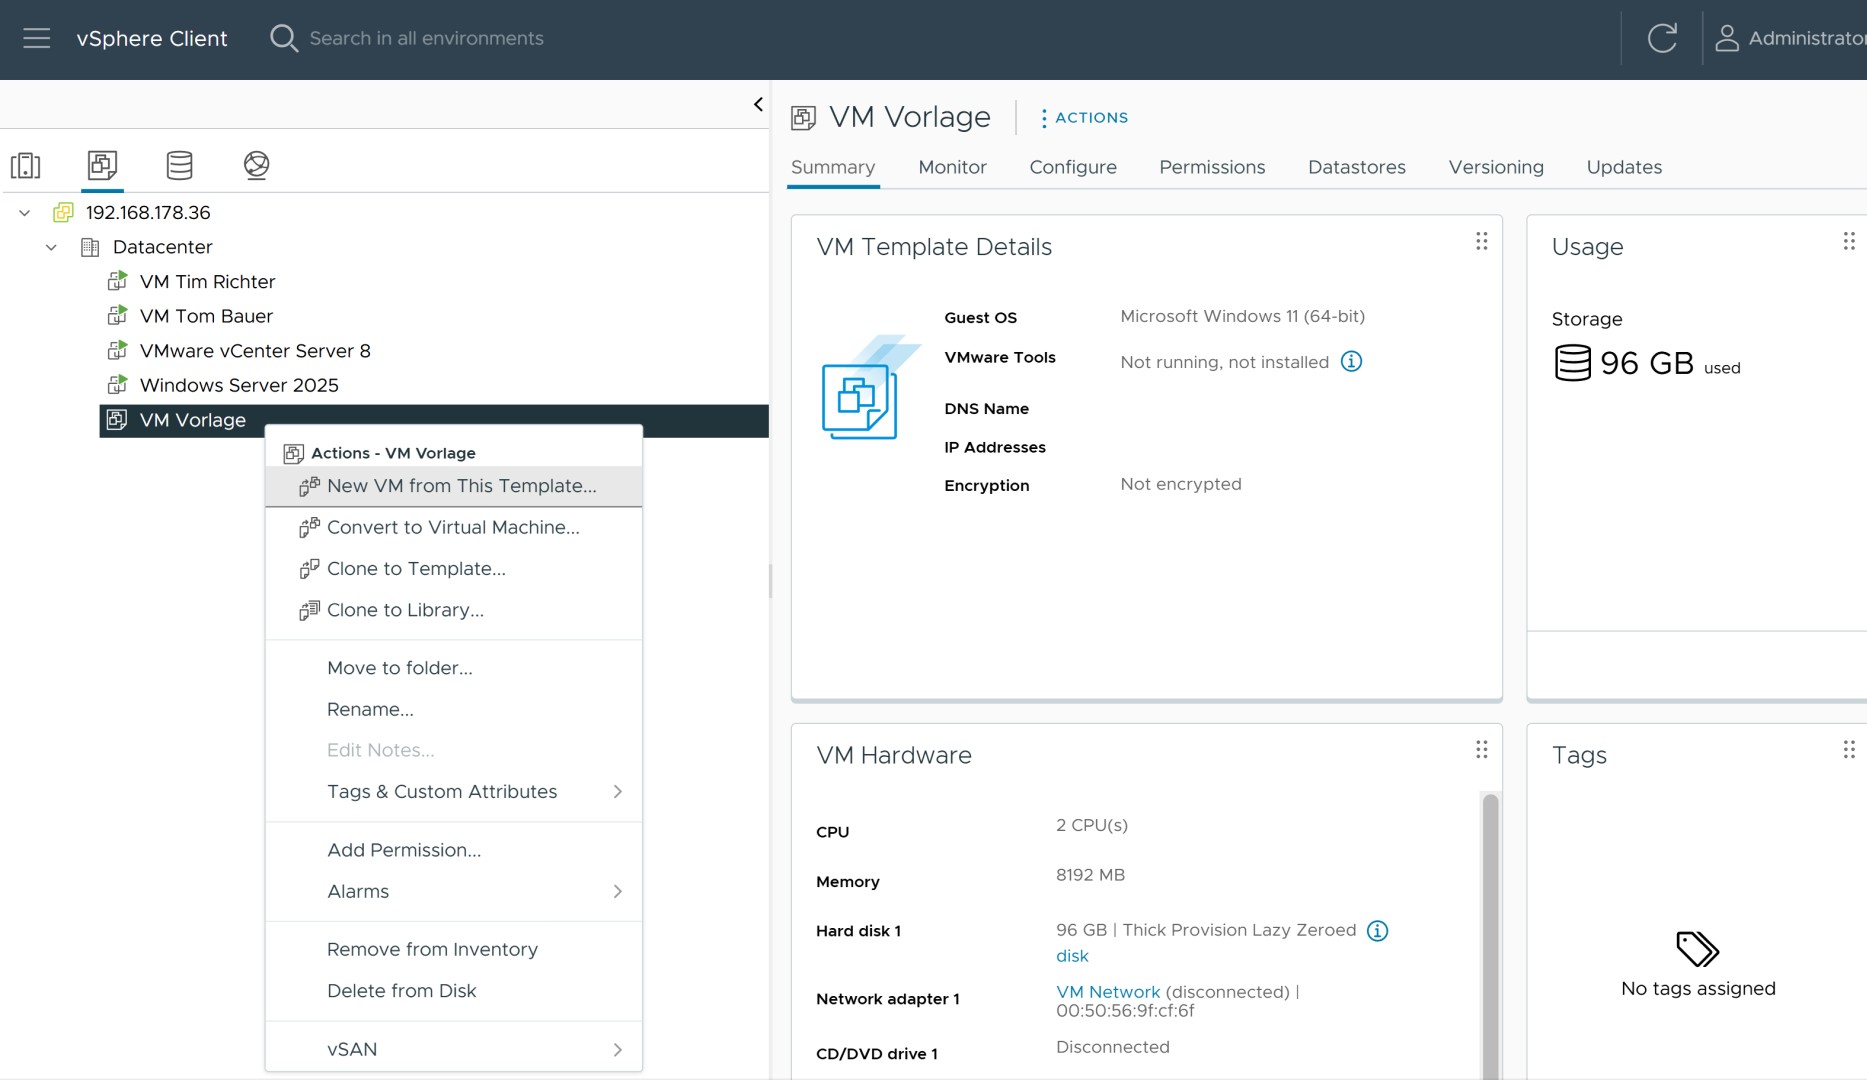
-
Set Name and Destination Folder
Enter a name for your new VM (e.g., Mia Schneider) and choose the destination folder.
-
Select Compute Resource
Choose the host or cluster where the VM will run.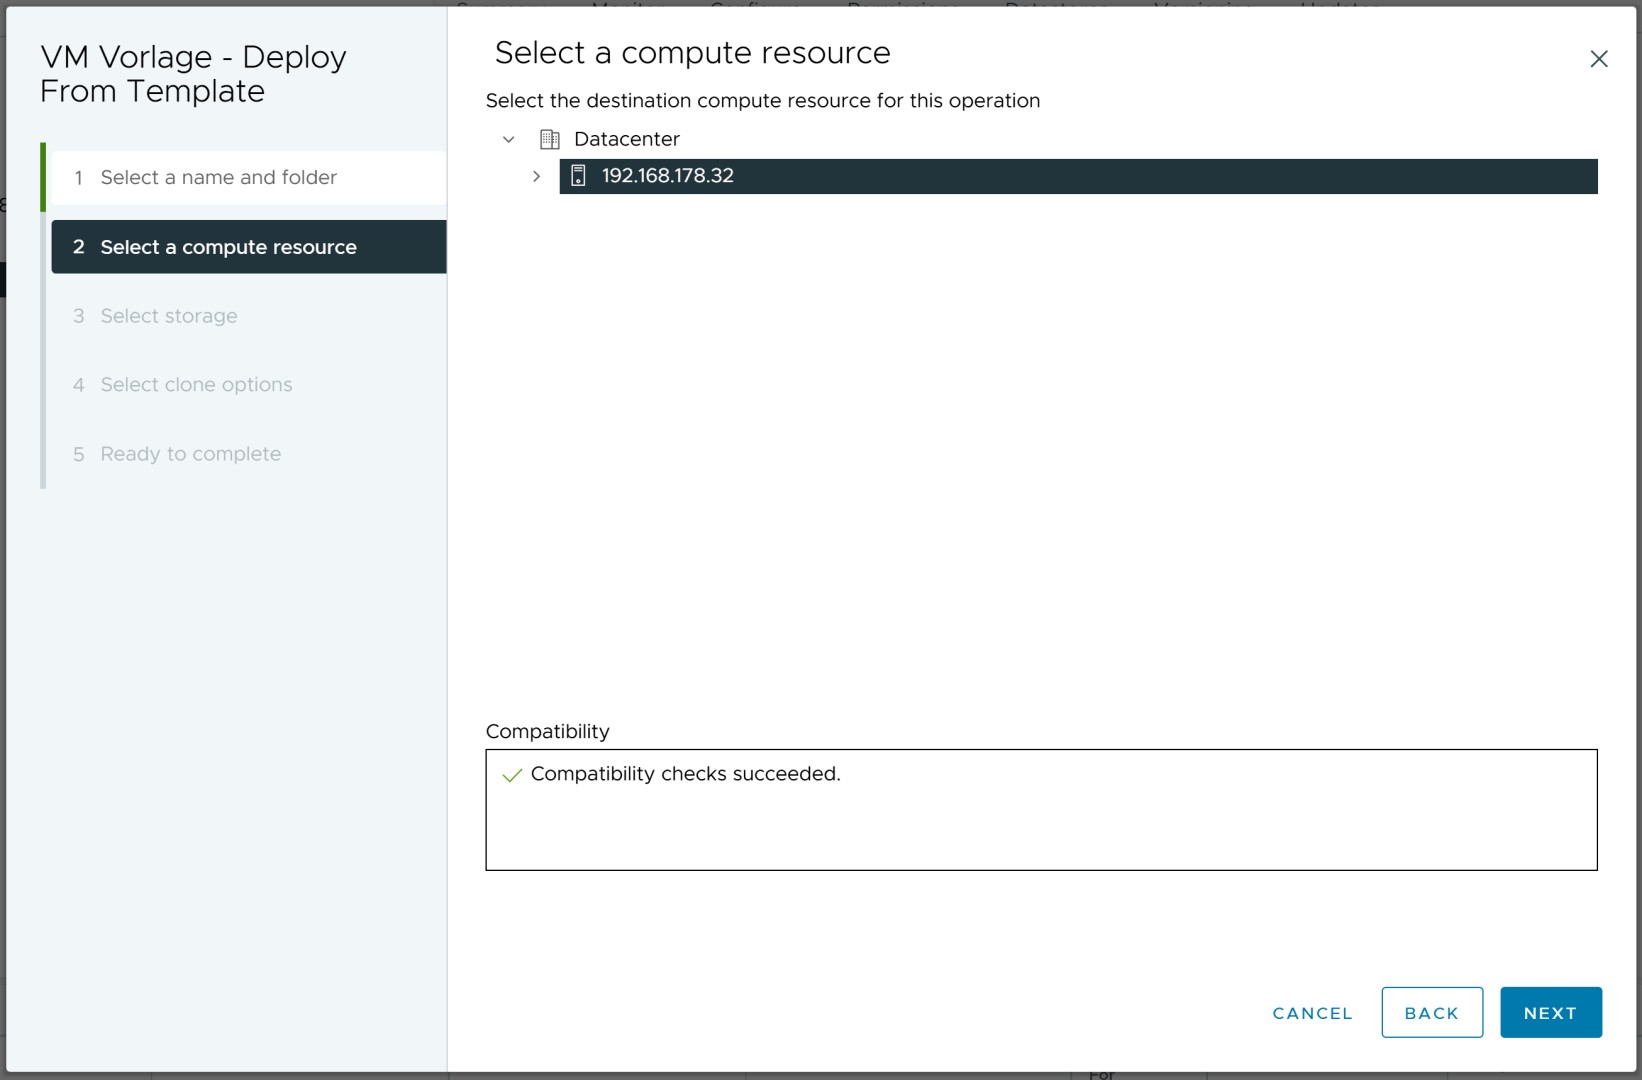
-
Select Storage
Pick the datastore where the VM files will be stored.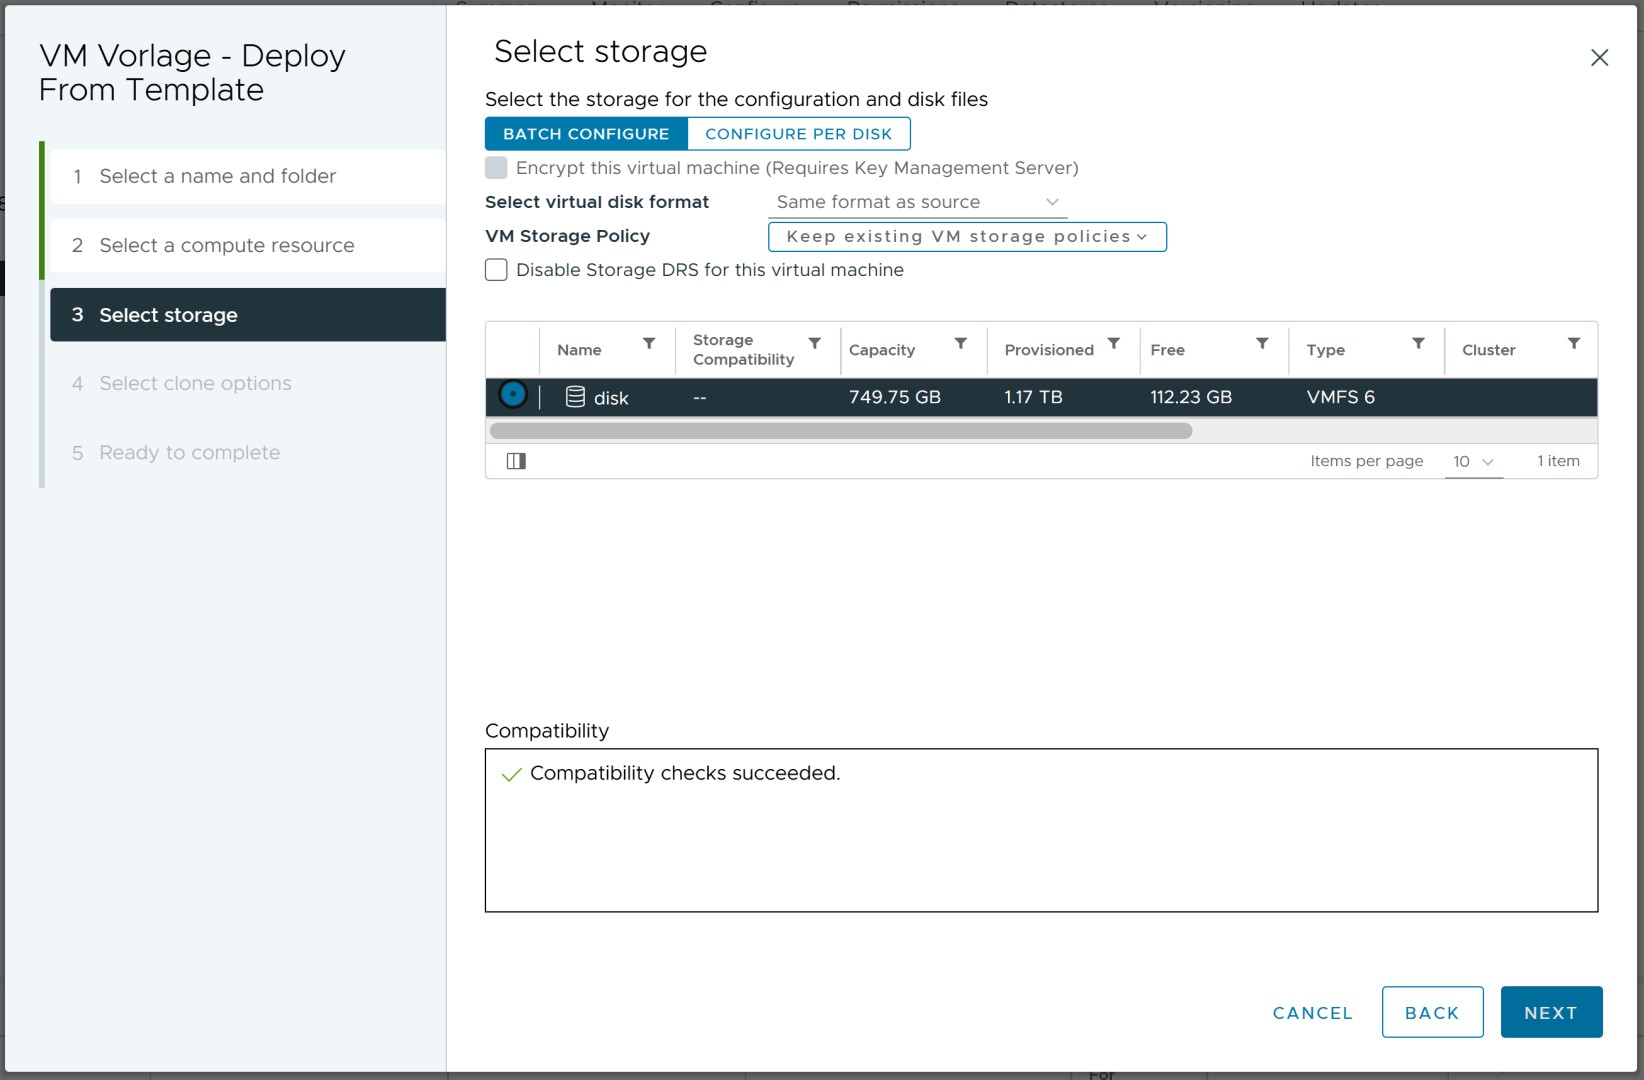
-
Adjust Clone Options
Decide if you want to customize the operating system or hardware. You can also choose to power on the VM after creation.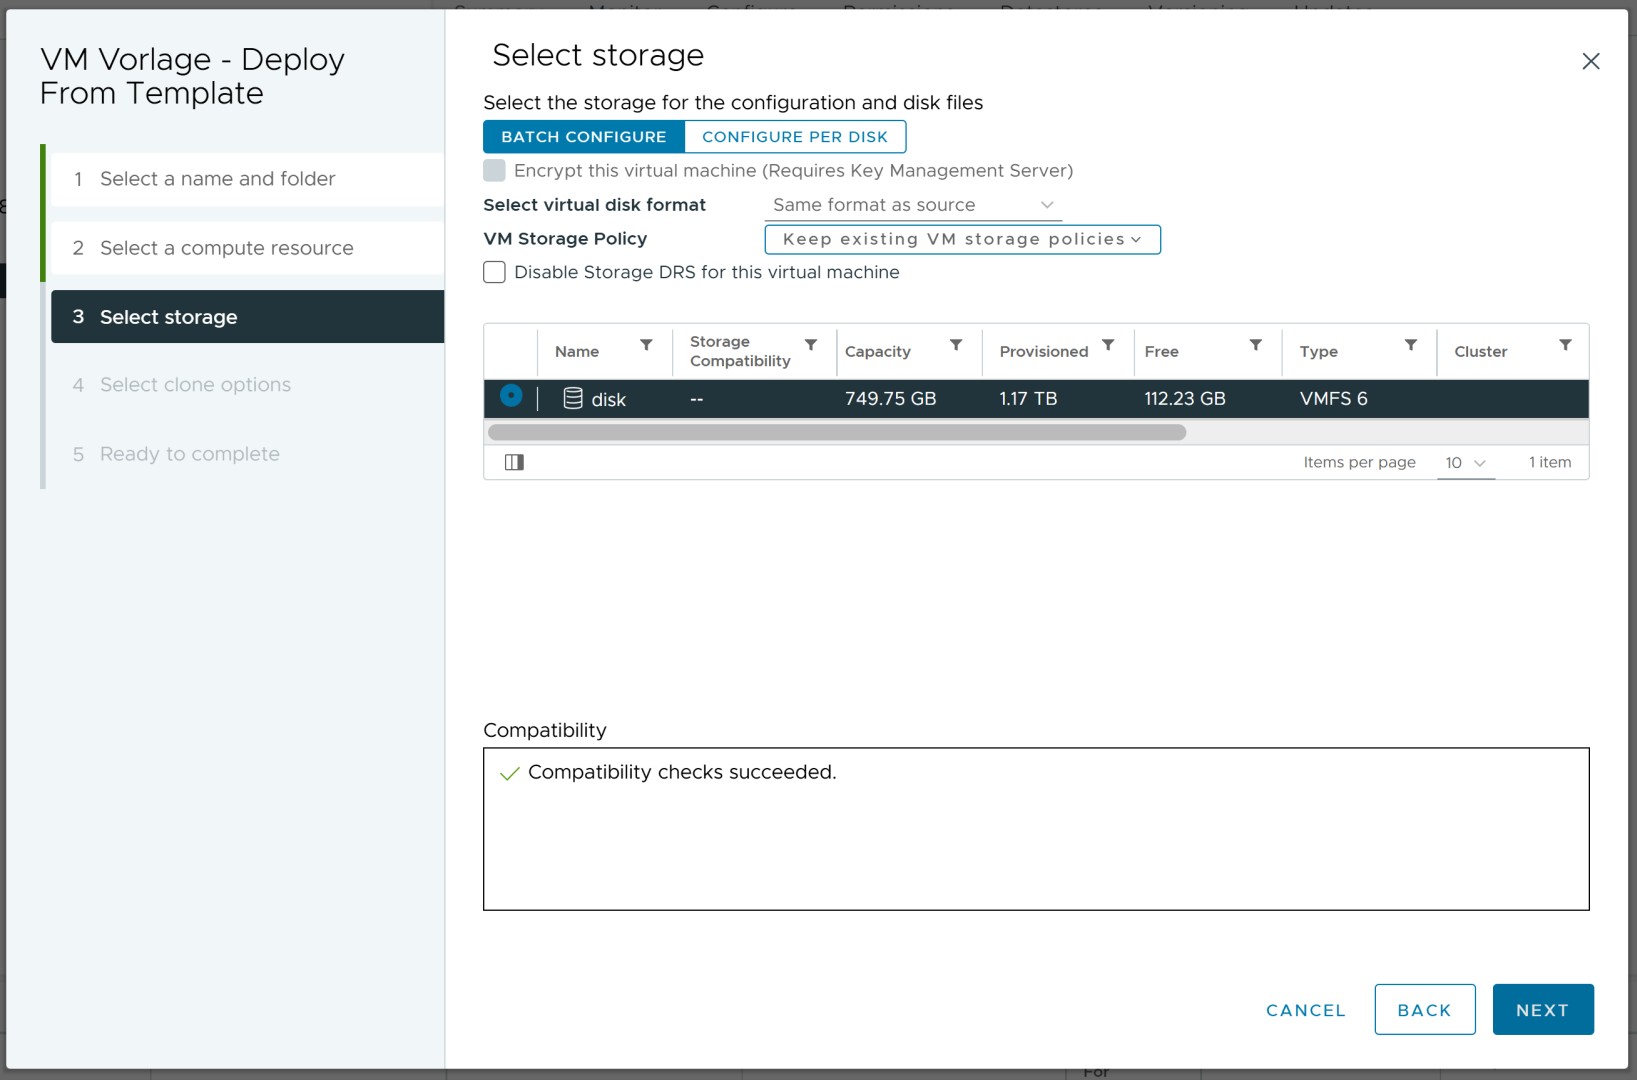
-
Customize Guest OS (Optional)
If needed, configure the guest operating system to avoid conflicts.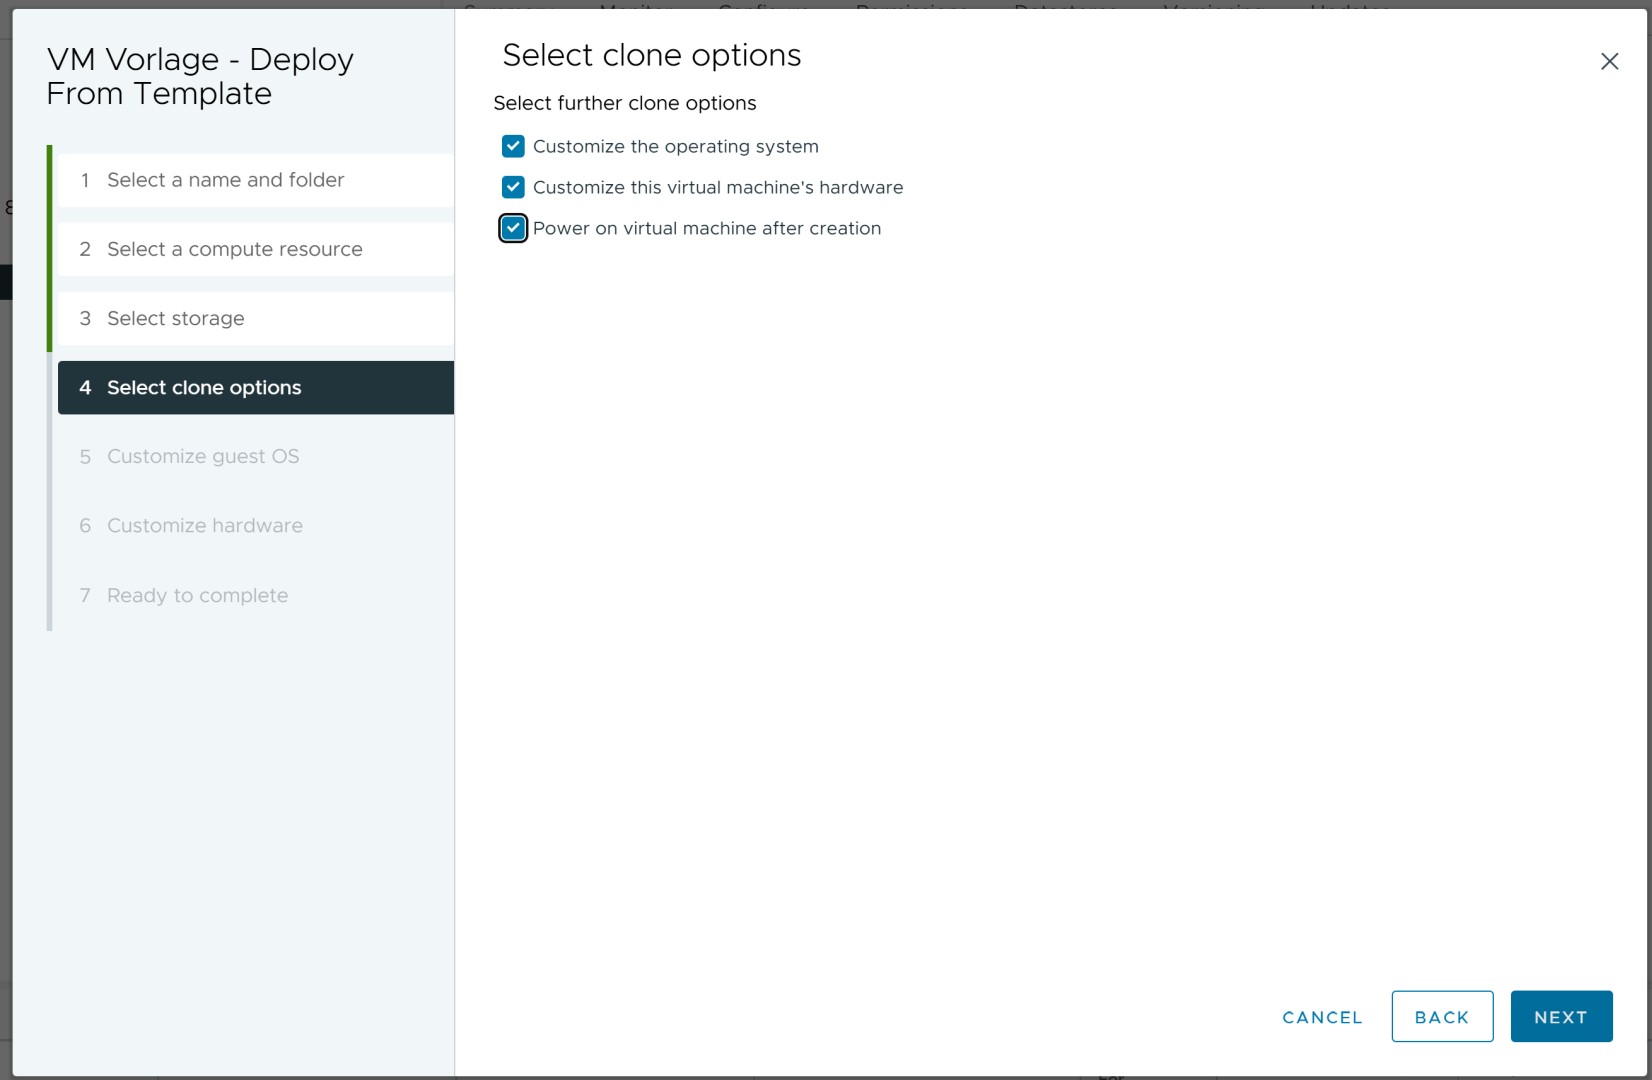
-
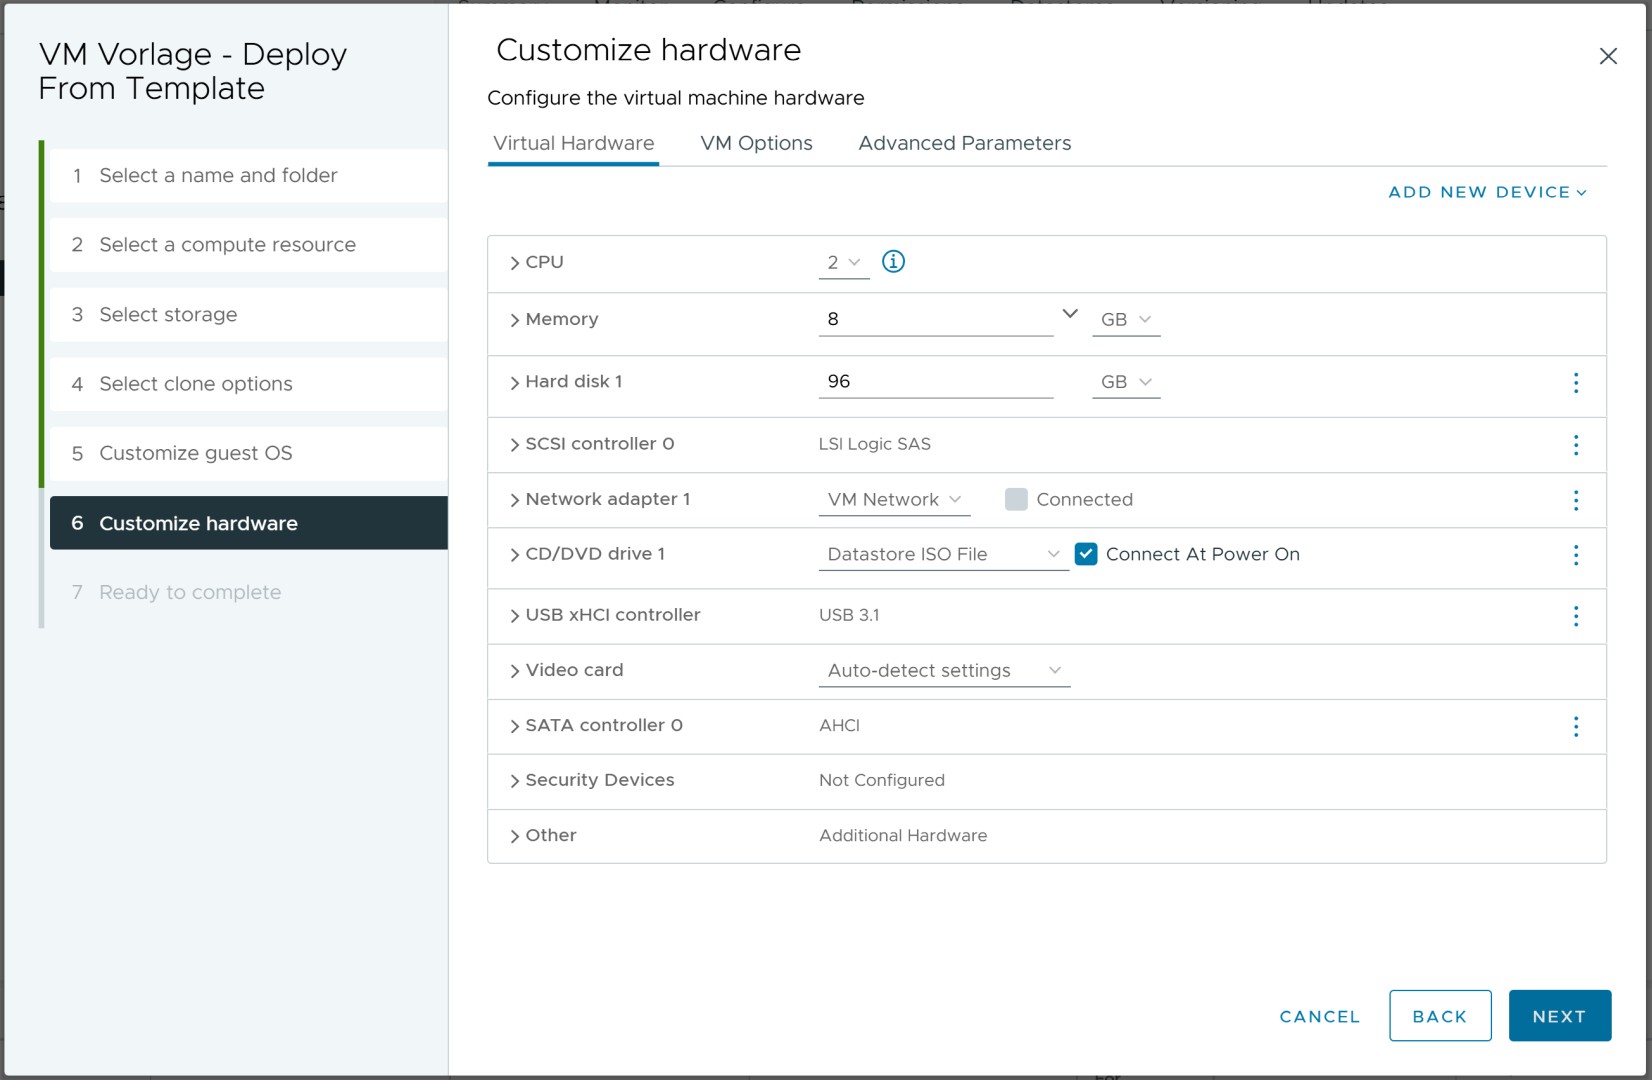
Customize Hardware (Optional)
Adjust the virtual hardware settings according to your needs.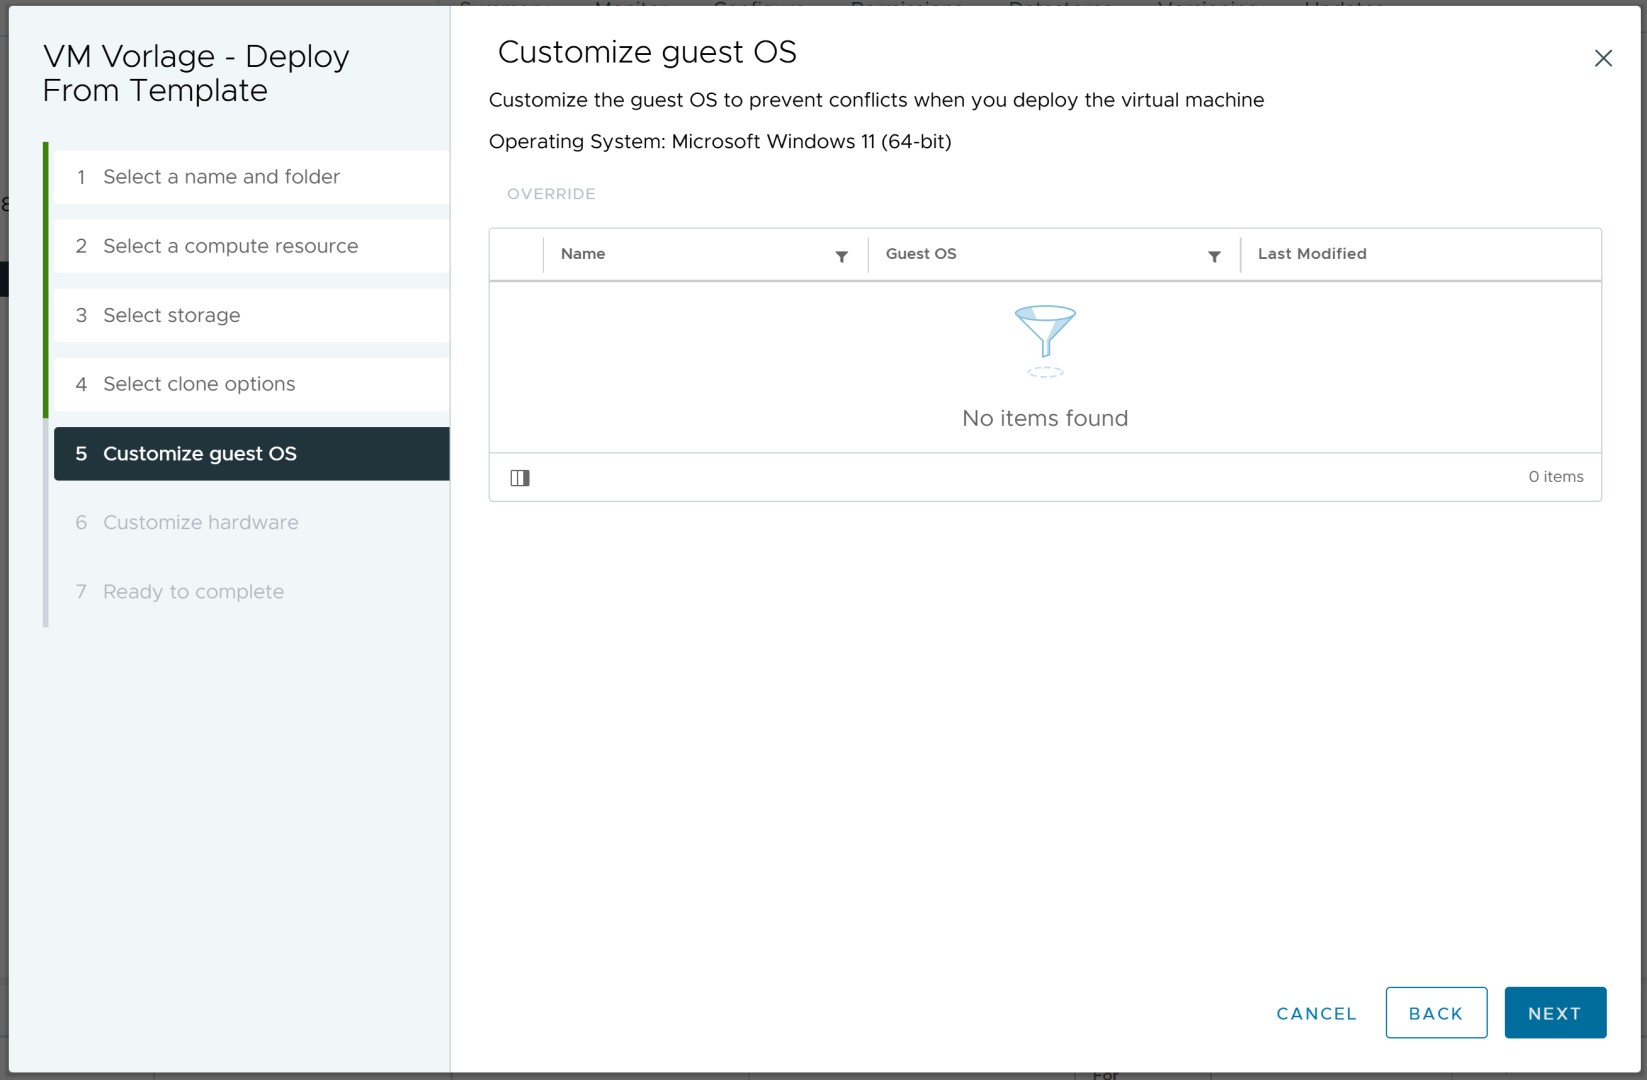
-
Review and Finish
Review all settings in the summary and click Finish to create the VM.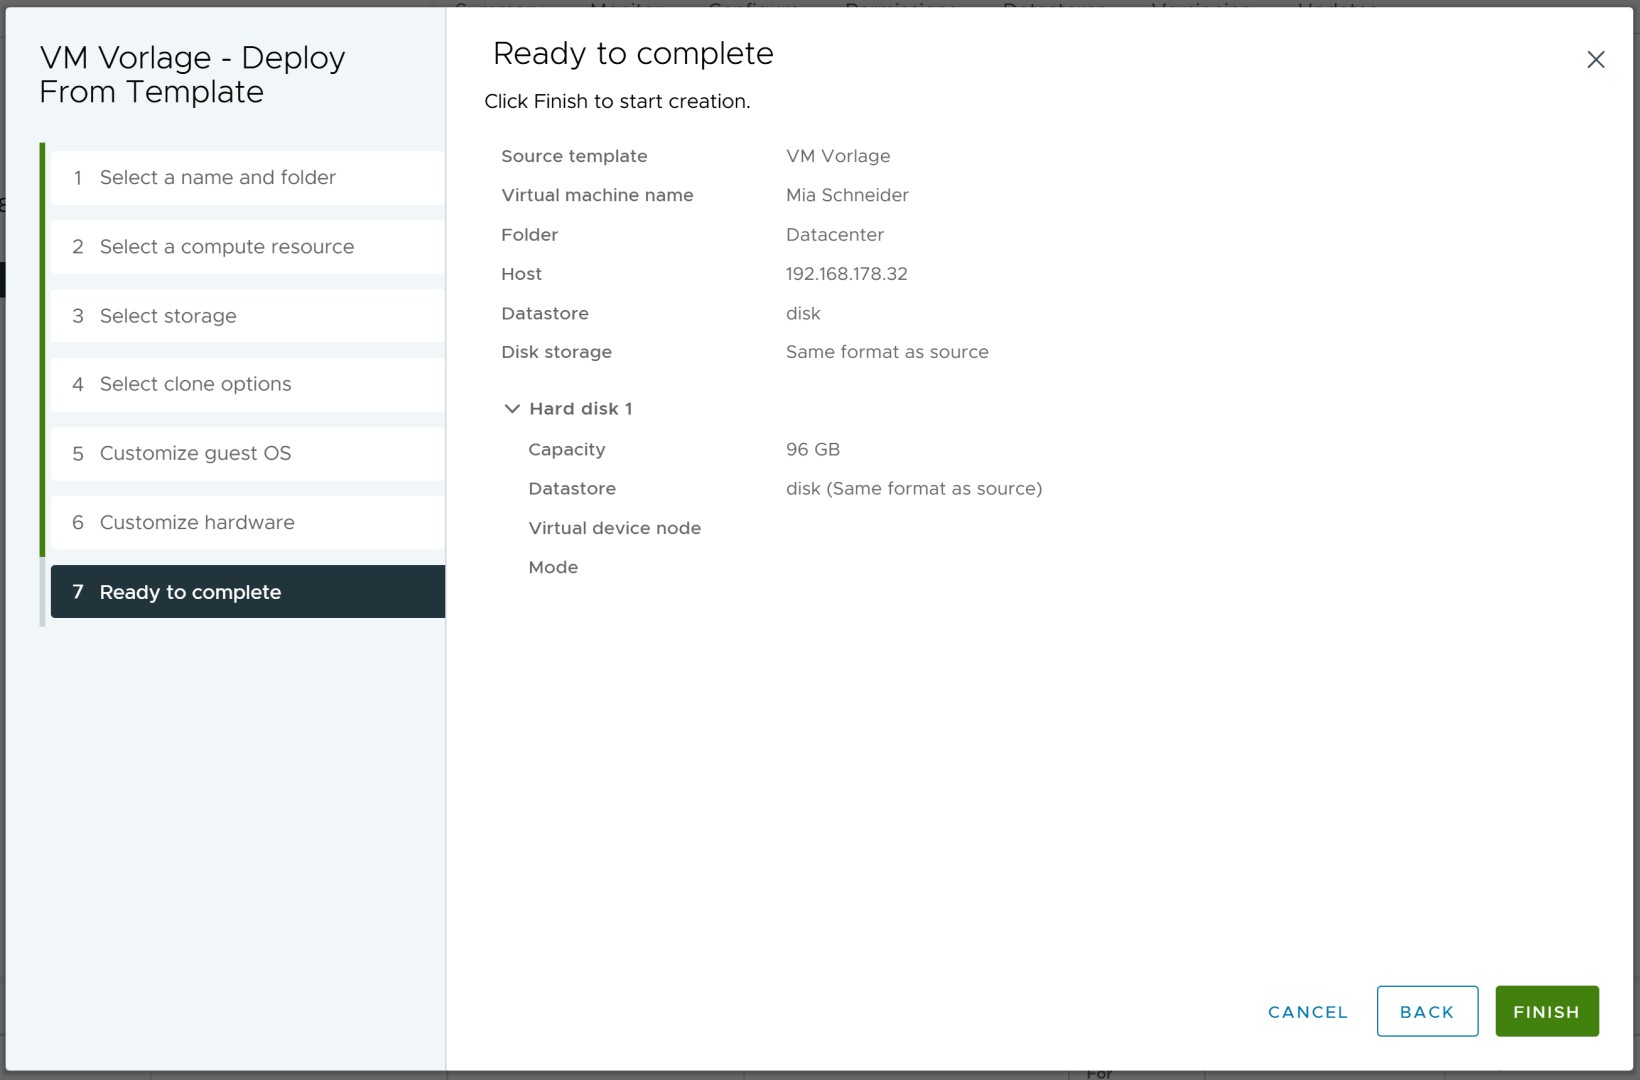
-
Done!
Your new VM will be created and visible in the inventory. You can now power it on and further configure it.